Building a motor house
October 2009 to March 2010
This is a brief photographic diary of the trials and tribulations of building a new motor house. Garage seems too demeaning a term for a project that took three years of fighting the intransigence, vested interests and hidden political agendas of the local planning authority. The property is a listed building, situated in Greenbelt and in the centre of a conservation village. Once involved in the application process, with all of the foregoing impediments, one soon learns that much of the legislation is contradictory and can only be resolved with the expensive use of knowledgeable professional help. Approval, when eventually received, had to comply with eleven different pieces of legislation.
 |
4th October 2009. Old uns in storage, equipment squirreled wherever it will fit and the doors ripped off with a feeling of satisfaction. |
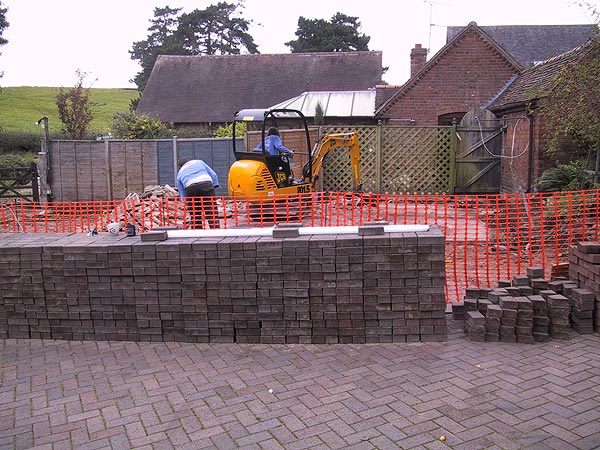 |
5th October - block paviours lifted and stacked. 6th October - old garage demolished in about 3 hours. The next two days spent in breaking up the old concrete base pad. |
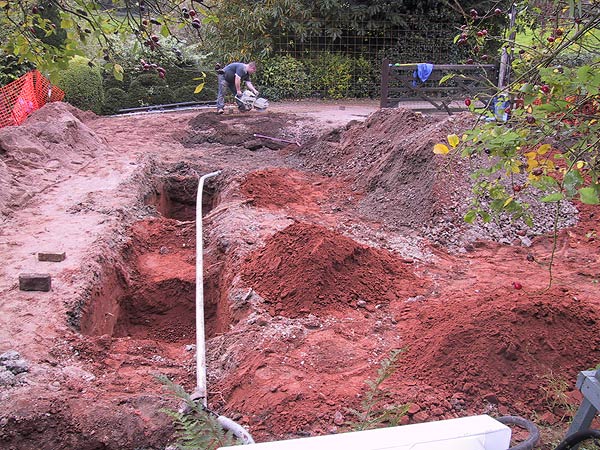 |
The nonsense begins. Dig out one meter deep trenches of solid sandstone in order to replace with concrete footings. The house has stood for nearly 300 years without the slightest settlement. What has happened to common sense? |
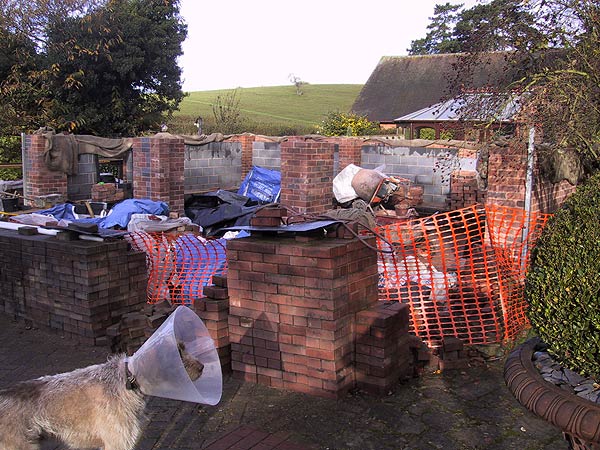 |
Footings in, dpc installed and the walls grow at a pleasing rate. |
 |
Onwards and upwards. Clear skies mean cold nights so hessian is draped over the day's bricklaying. |
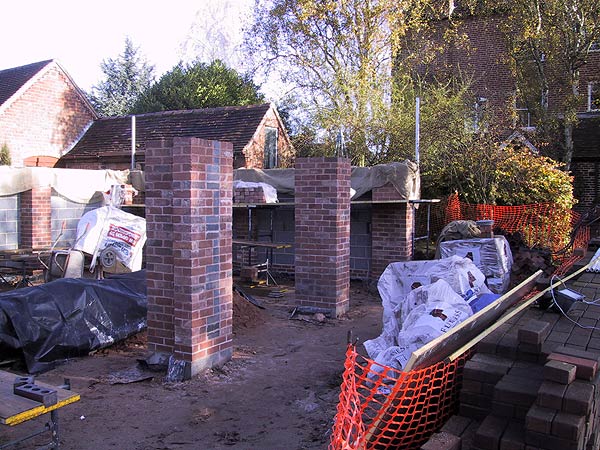 |
Walls up to pad stone height. The pad stones will be cast in situ and cured for three days before the steelwork is erected. |
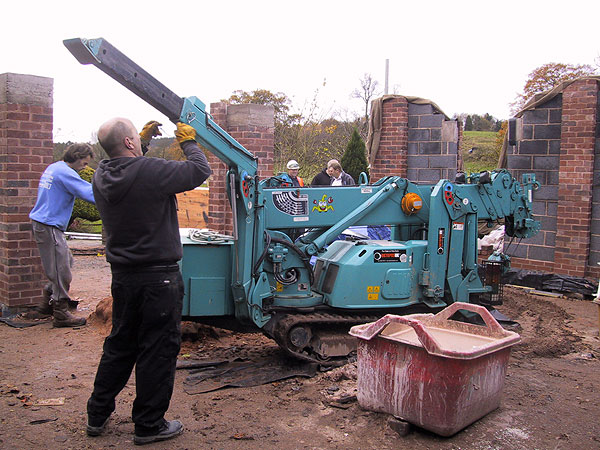 |
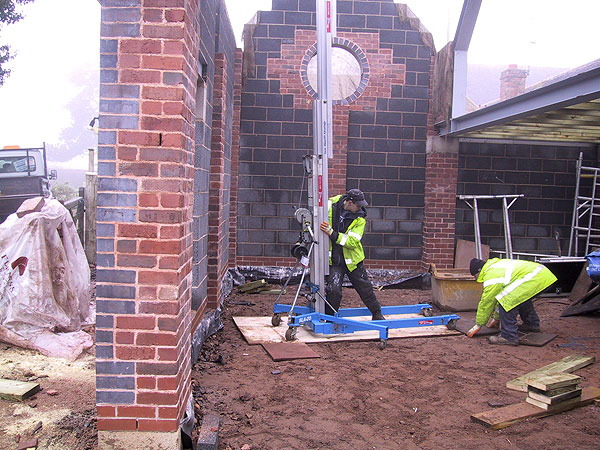
Limited site access prevented the use of normal cranes so this natty Oktopus folding crane was brought onto site. I am not sure where the other four legs have gone to. |
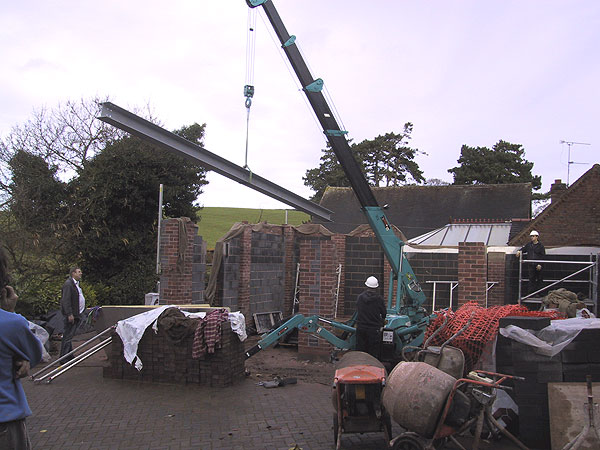 |
Week 3 of November. The ridge beam for the high-bay section is lifted out of the way. |
 |
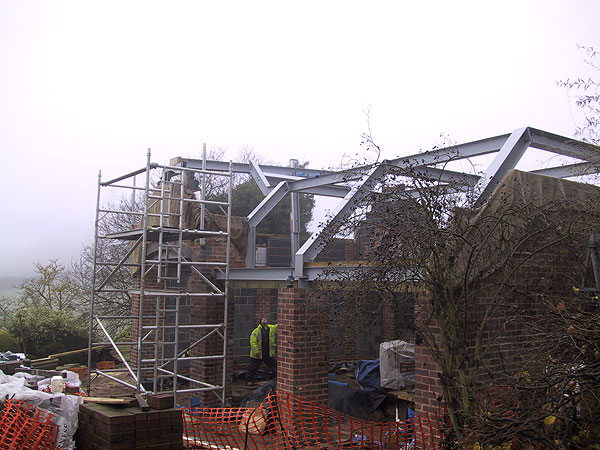
. Steels being lifted into position. Alignment of the pad stones were checked with a laser level - all within 1mm of each other. |
 |
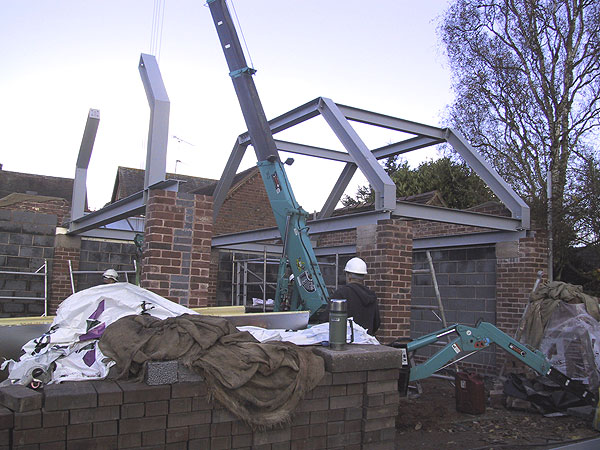
Who needs 'elf and safety? |
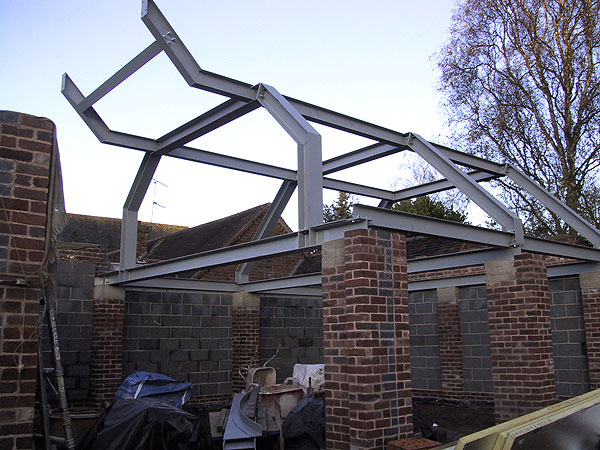 |
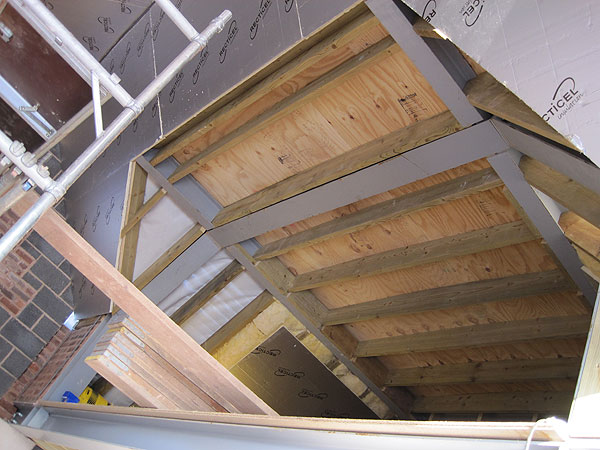
Hmmm... where are the other bits? It transpired that the architect had not factored in that the wall could not be built to support the ridge beam until the other steels had been installed. The purlins had not been designed to take the weight of the unsupported ridge beam. Catch 22 - the left hand lintel, being one meter higher than the others, had to rest on a brick pier that has to sit on the other steels. The gable has to be built on top of the left hand lintel to support the ridge beam. Call me old fashioned but this seems like lesson one in building design - and I'm paying for this?
|
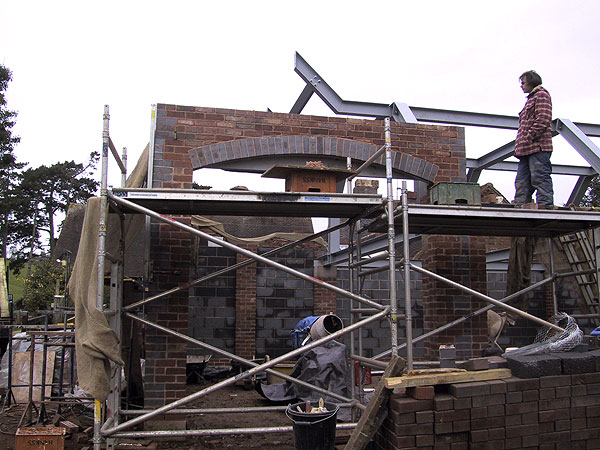 |
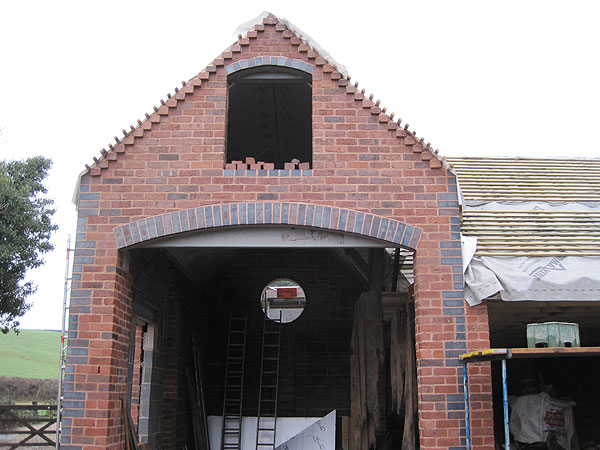
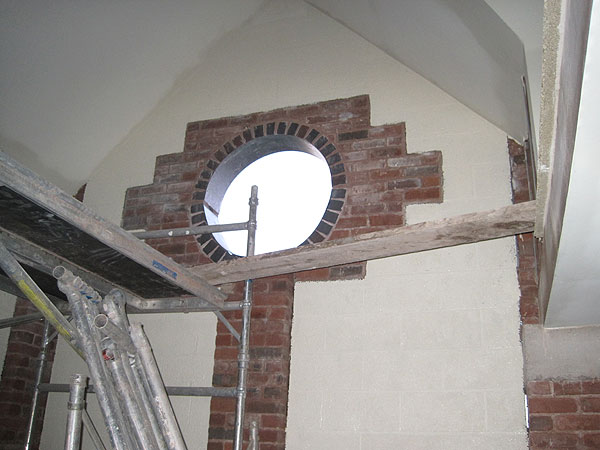
Brick pier built, lintel in place and arched bricks laid. Questions relating to how the big bits climbed the wall should be referred to the skyhook department. |
 |
Dusk. The walls go up as the temperatures drop. |
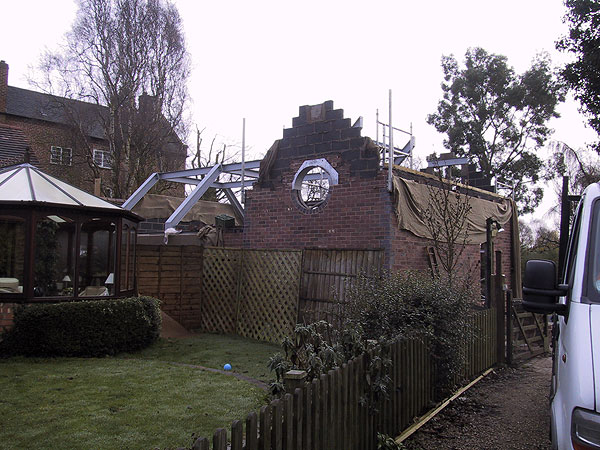 |
...and through the round window, children... |
 |
Freezing temperatures brought bricklaying to a halt but the team moved on to other tasks such as fitting the floor. |
 |
Cold, misty and early. The ridge beam is eventually installed. |
 |
Up, bolted and level. |
 |
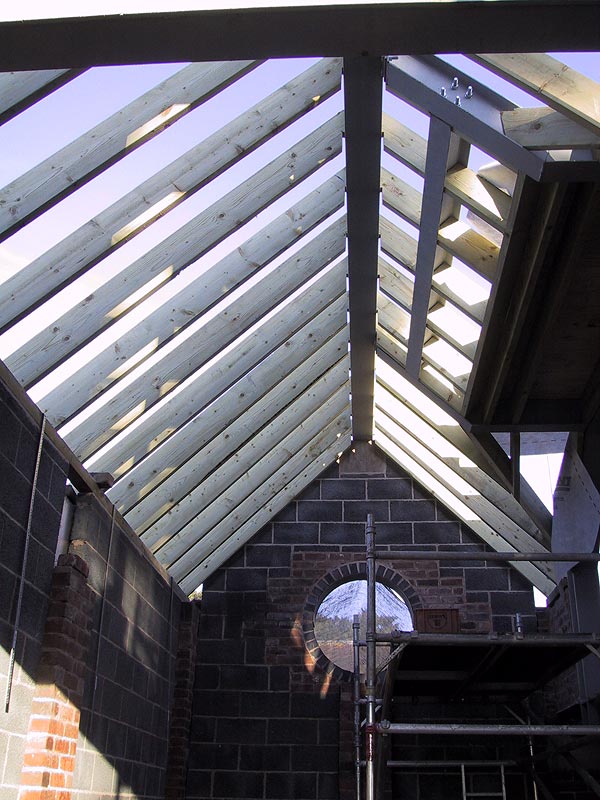
Rafters cut and fitted as the temperatures fall even further and threaten to close the site down. |
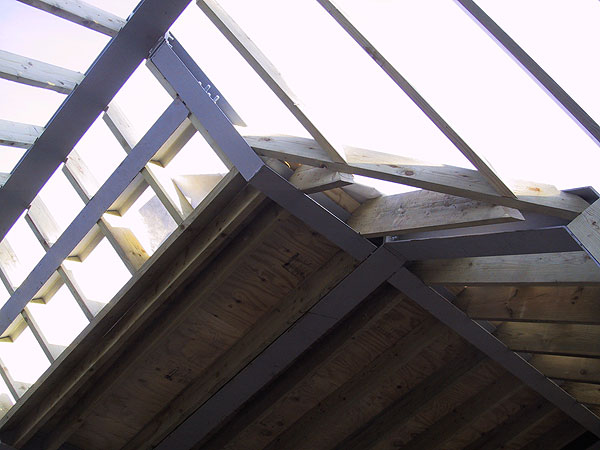 |
Architectural arithmetic - fail. Since when do two roofs, butted at 90º and both having a 45º pitch have a 60º valley at their junction? A nifty bit of carpentry corrected the misalignment to ensure that the roof tiles would line up. |
 |
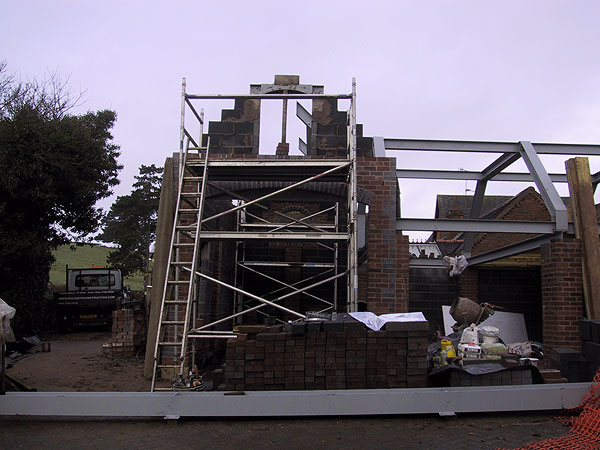
Rafters in the tall section. Bricklaying restricted to a few hours on the warmer days. |
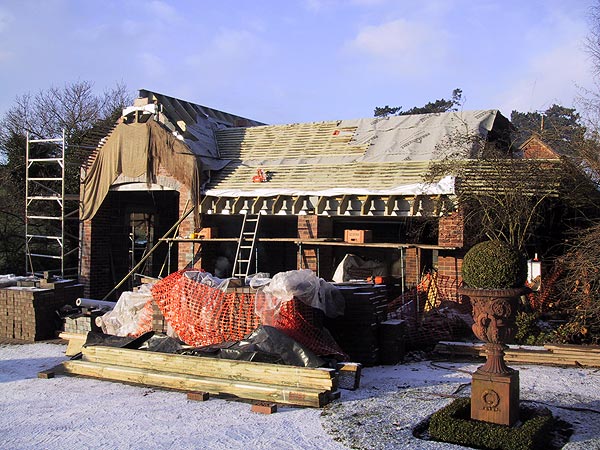 |
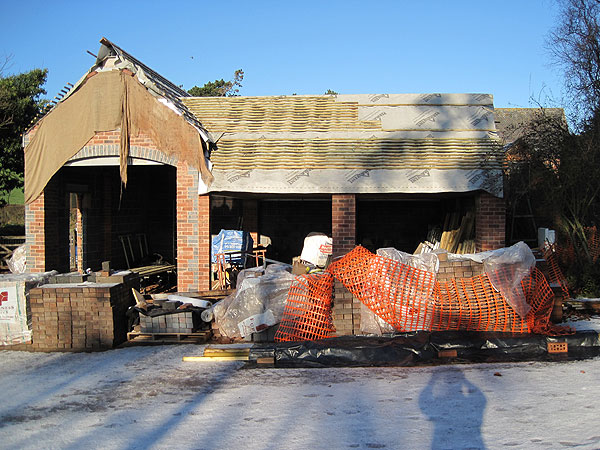
Down time is filled with felting and battening, which at least starts to make the shell weather proof. |
 |
|
 |
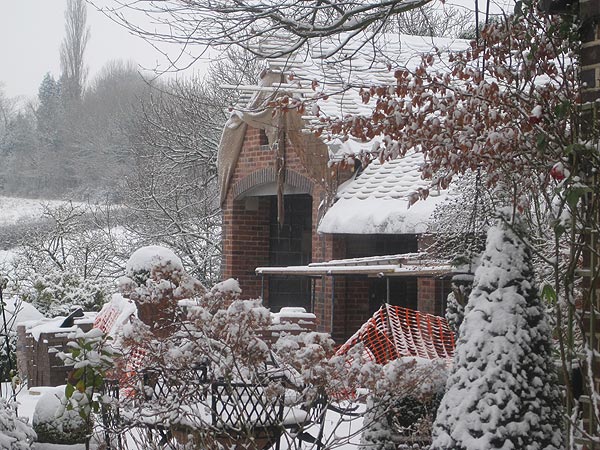
Snow. |
 |
Melt. |
 |
Internal work keeps things ticking over. |
 |
5th January 2010. More bloody snow! |
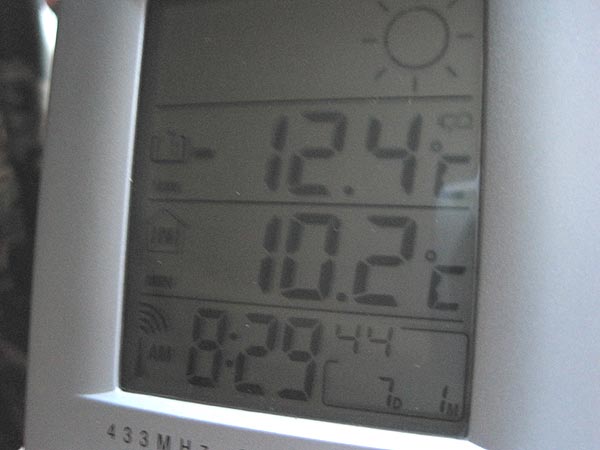 |
7th January - 12ºC below freezing but they still carried on working. |
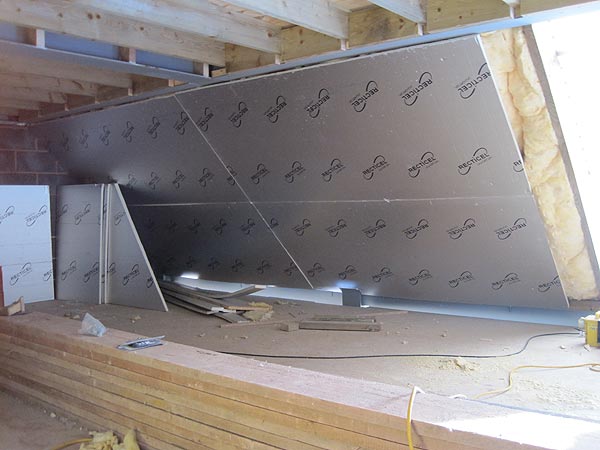 |
If only the house had this much insulation. |
 |
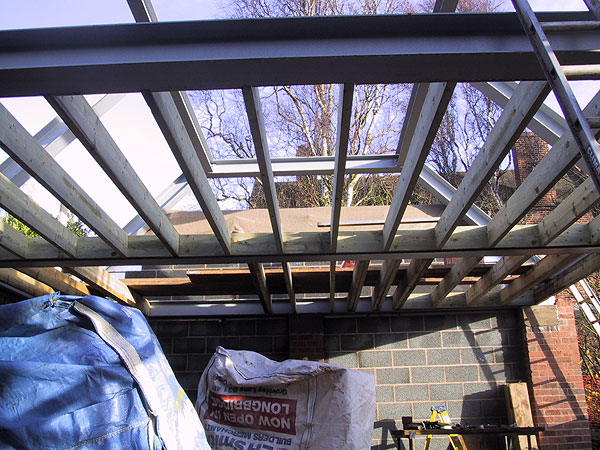
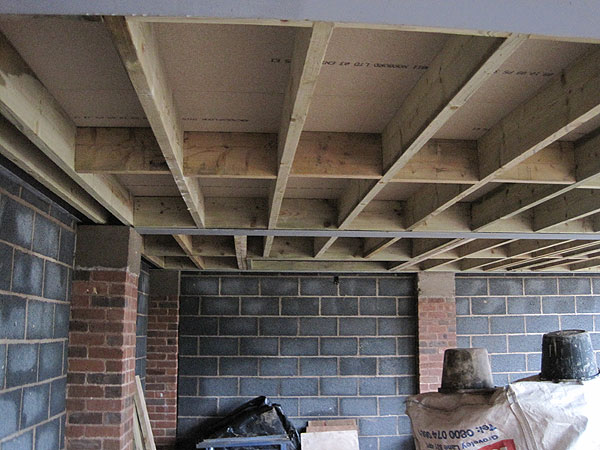
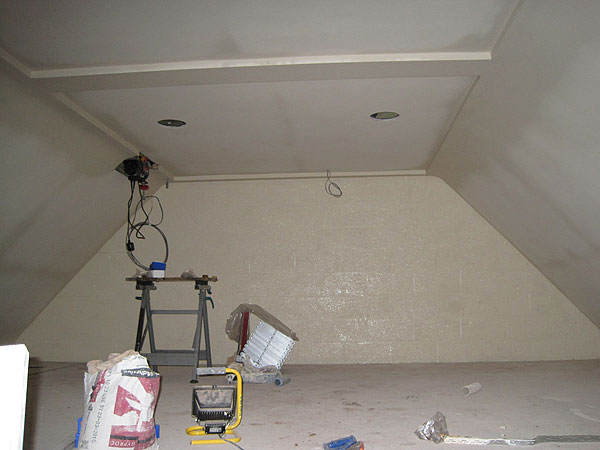
Looking up at the flat roof section above the mezzanine. |
 |
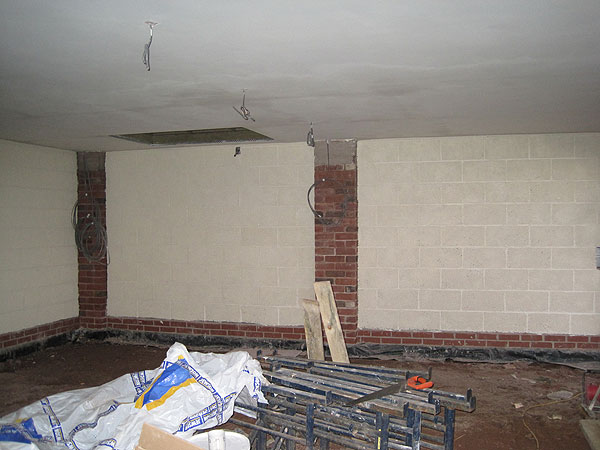
26th January At last, a few days of slightly warmer weather allow the final brick detail to be finished. |
 |
Mezzanine floor in place with a trap door at the far (right) end. |
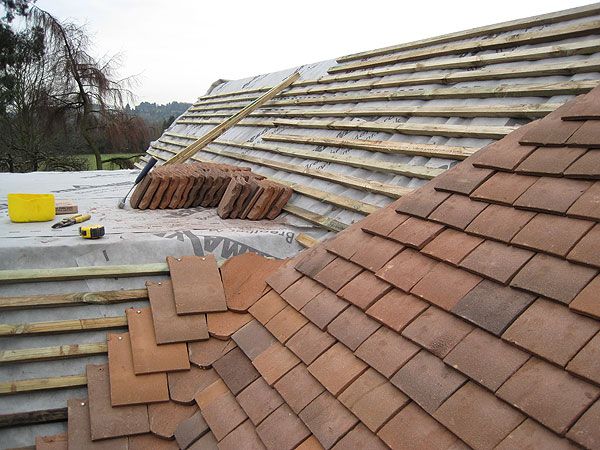 |
Working out the alignment of the valley tiles. Being hand made tiles added an extra dimension to what seems a simple task. |
 |
One roof pitch completed: things are looking up. |
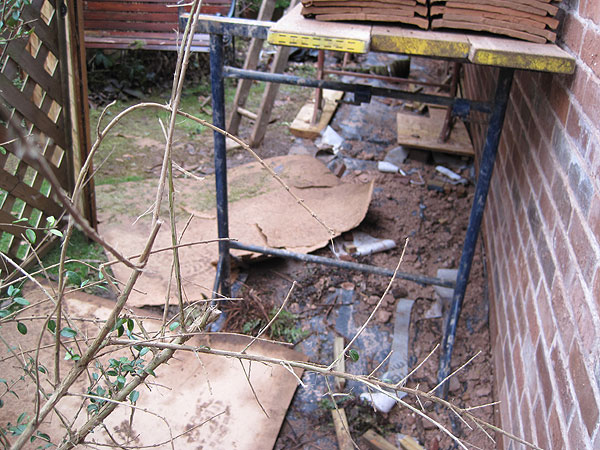 |
Oh dear - my mess in the neighbour's garden. Who said that tall walls make for good neighbours? |
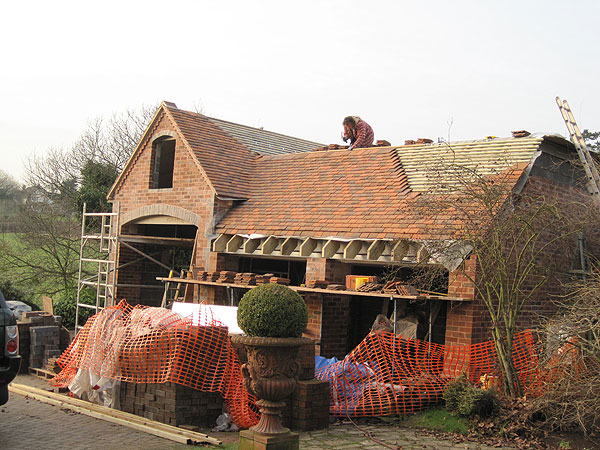 |
More tiles but not in the conventional order. Due to the unpredictability of the weather it was necessary to leave the bottom 6 rows of tiles so that the brickwork could be finished when the temperatures allowed. |
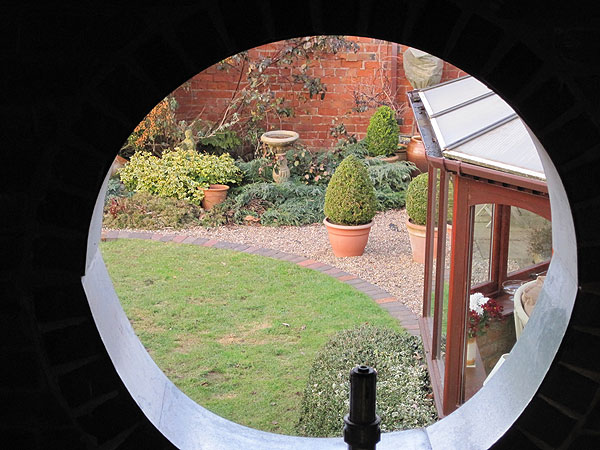 |
Through the round window. |
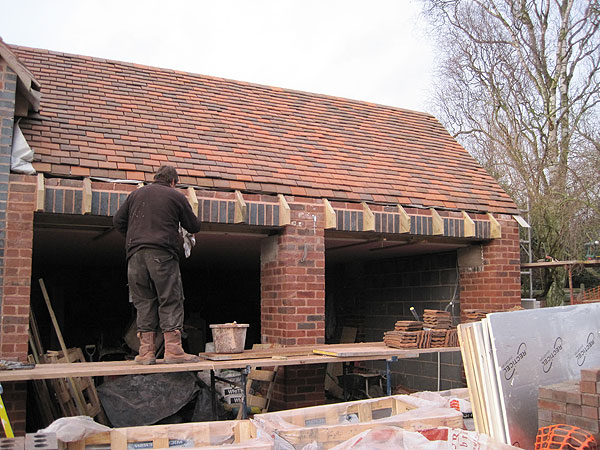 |
Finishing off the soldier course above the door lintels. |
 |
The final piece of the garden wall to finish the boundary. The sharp-eyed will notice that this has been constructed using a different brick bond - because we could and it adds visual interest to the neighbour's view. |
 |
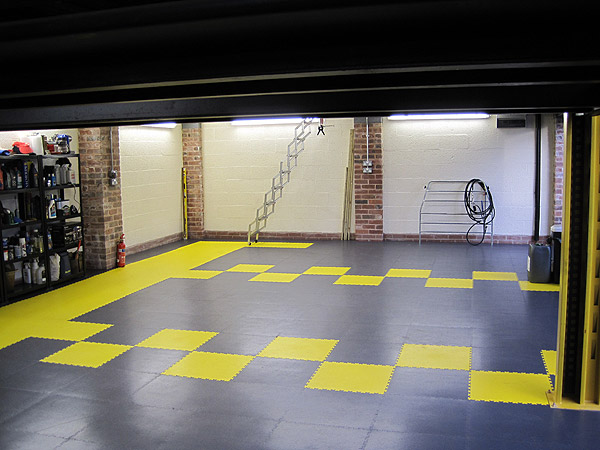
The mezzanine area with electric winch above the trap door. The silver block is a cast aluminium concertina staircase that flips through 180º when the trap door is open. |
 |
Plaster and paint plus a few wires. |
 |
Draw your own conclusions. |
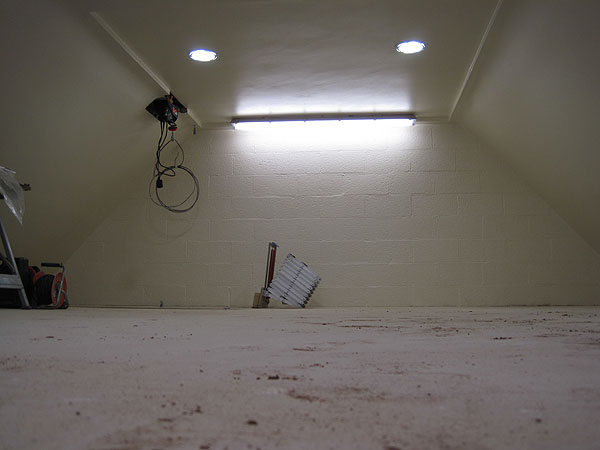 |
Lights in the workshop. The supply for the lathe, milling machine, winch, etc has not yet been fitted. |
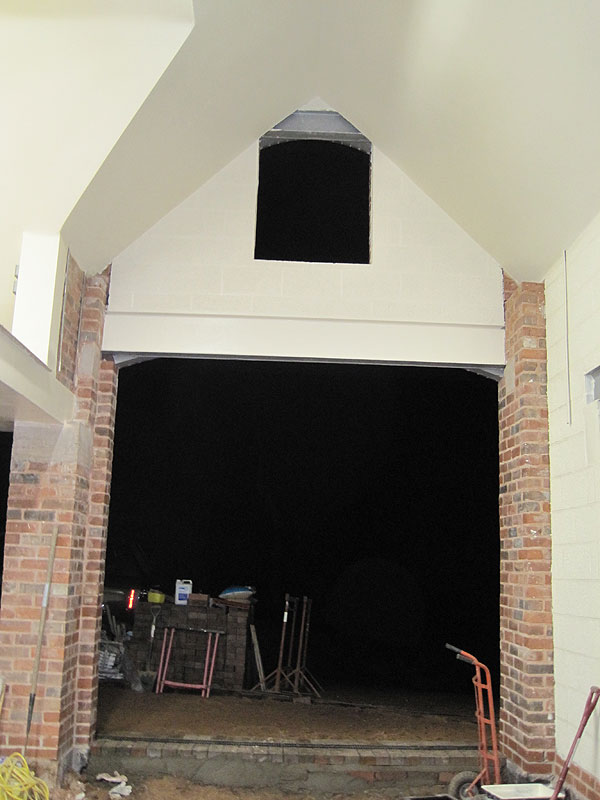 |
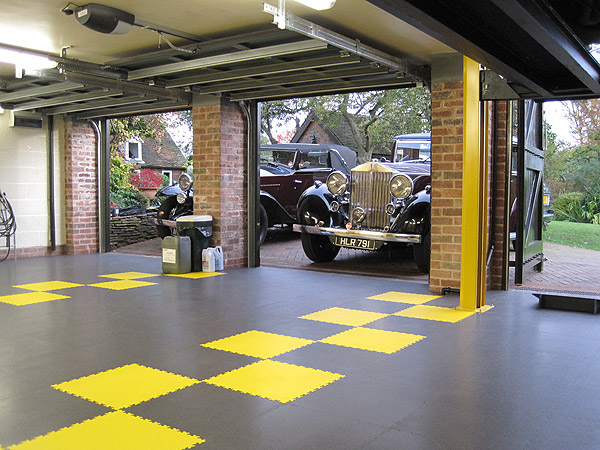
Looking out of the big doorway at night. |
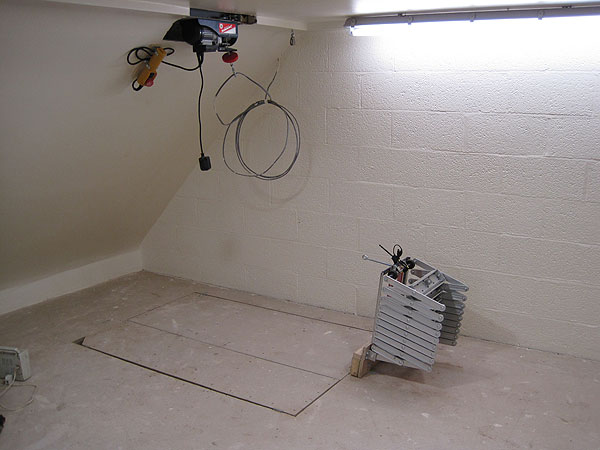 |
Trap, stair, winch. |
 |
The colour deceives the eye. The mezzanine is 36 square metres, albeit having sloping walls - but I can live with that. |
 |
16th February At long last! |
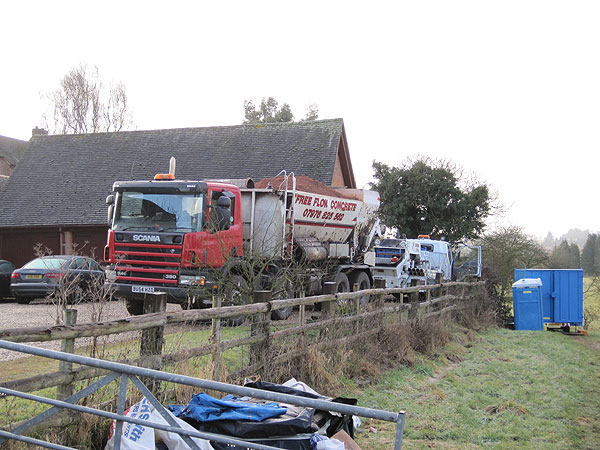 |
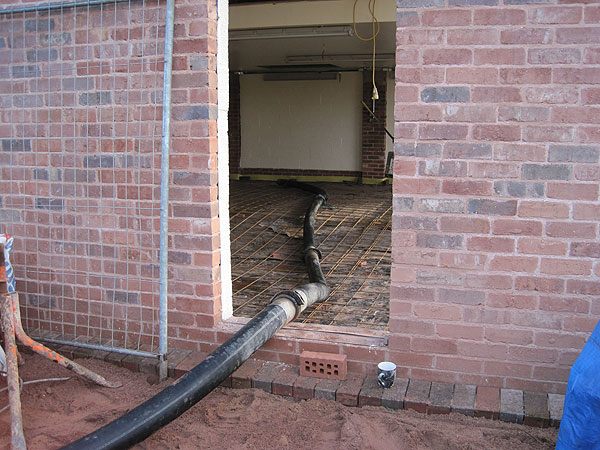
Concrete for the floor. Neighbour's drive will need resurfacing after five months of wear and tear. |
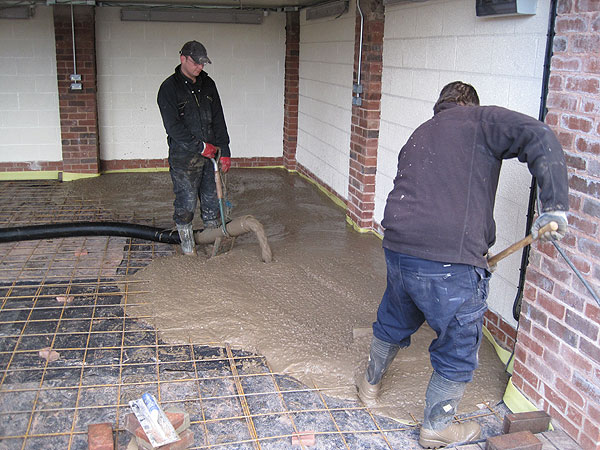 |
Pouring. |
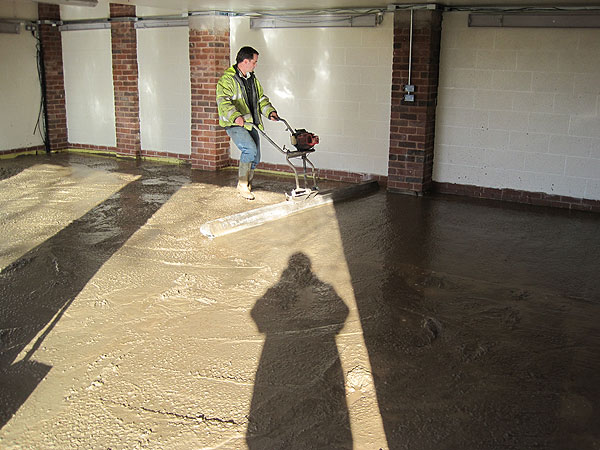 |
Smoothing. Note the ghoul's shadow. |
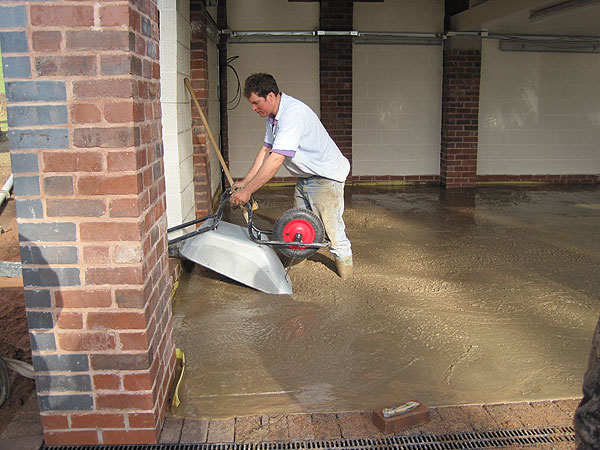 |
The last of the concrete is blown through the pipe using a sponge ball the keep up pressure and clear the pipes. The wheel barrow is used to prevent the last dregs splattering the walls. The concrete floor floats up to the level of the block paviours. |
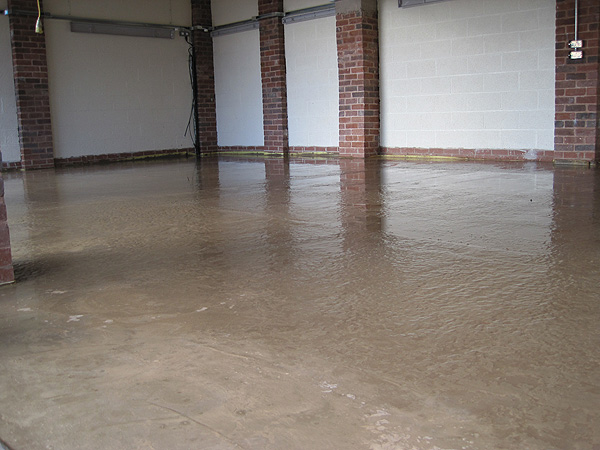 |
First leveling. |
 |
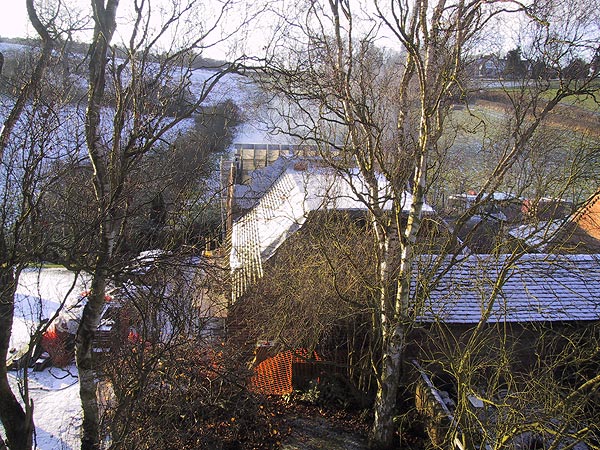
A view from the roof of the garage. |
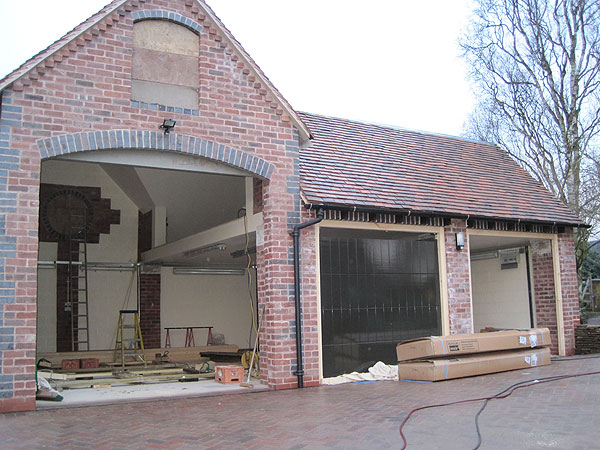 |
The team arrived to install the two sectional doors on the same day that the builders started to make the two hinged doors for the left hand bay. |
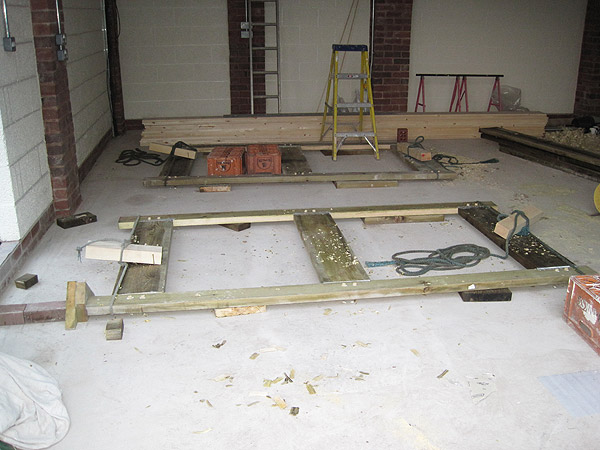 |
The second frame under construction. Mortice and tennon joints, cross-drilled, pegged and glued. |
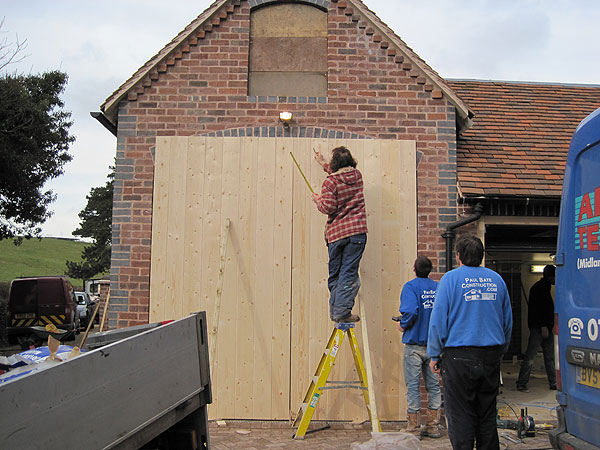 |
Door frames planked, offered up and in the process of being scribed. |
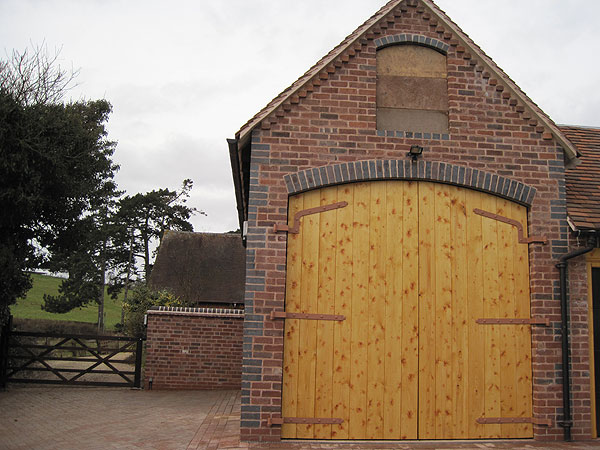 |
Installed using specially fabricated cranked hinges care of the local boatyard. |
 |
It took the builders about two hours longer to build and install these doors than it took the others to fit the two prefabricated doors on the right. |
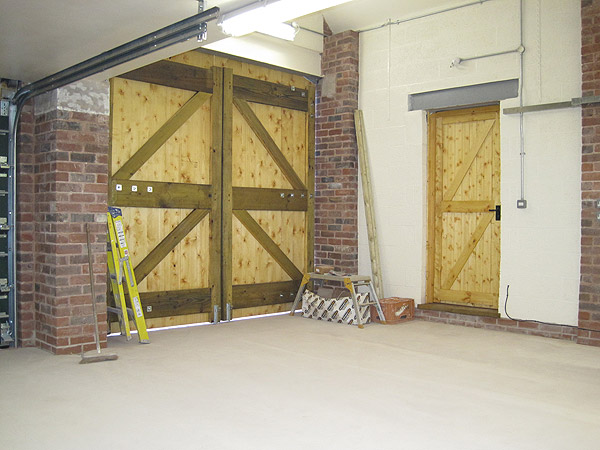 |
Large doors and side door from the inside. |
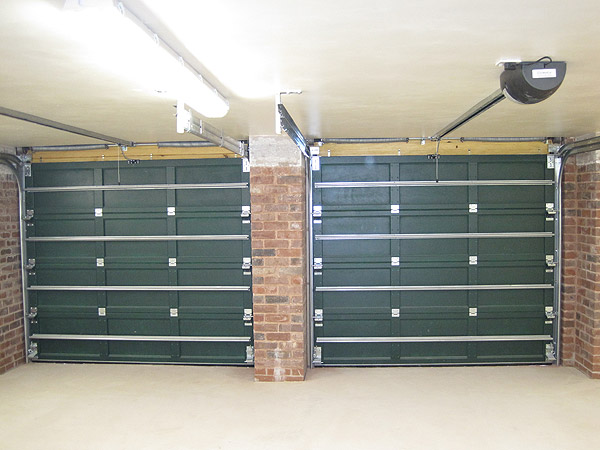 |
The two sectional doors from inside the garage. |
 |
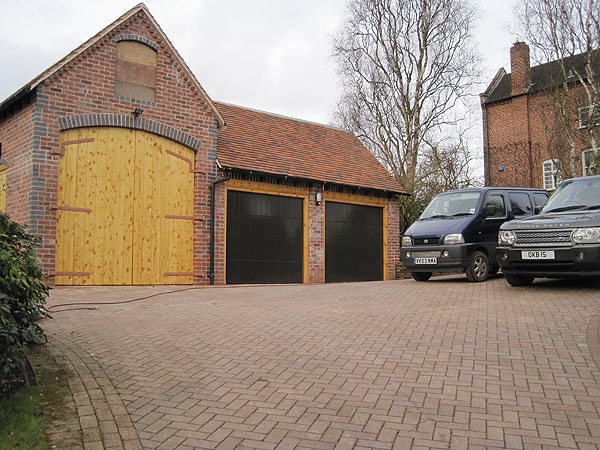
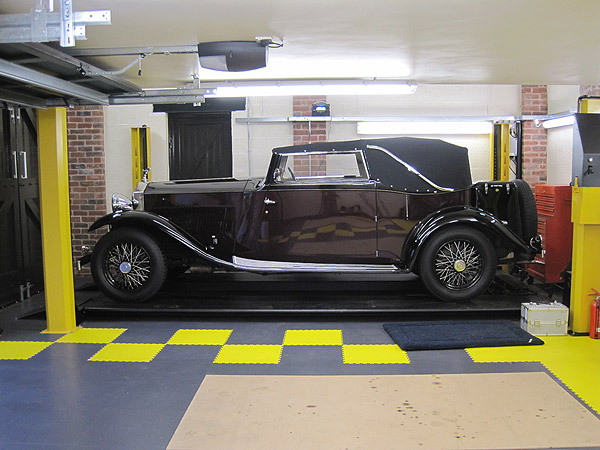
First test to check that all of the apertures will accept the taller vehicles. The next job is to paint the floor. |
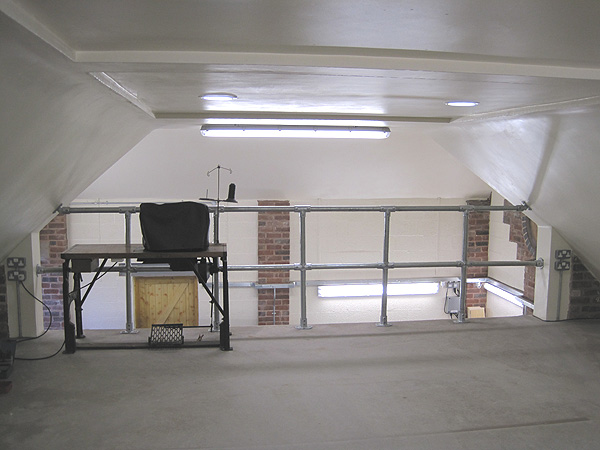 |
The handrail has been installed at the edge of the mezzanine workshop and a linoleum floor covering keeps the dust down - or at least sweepable.
|
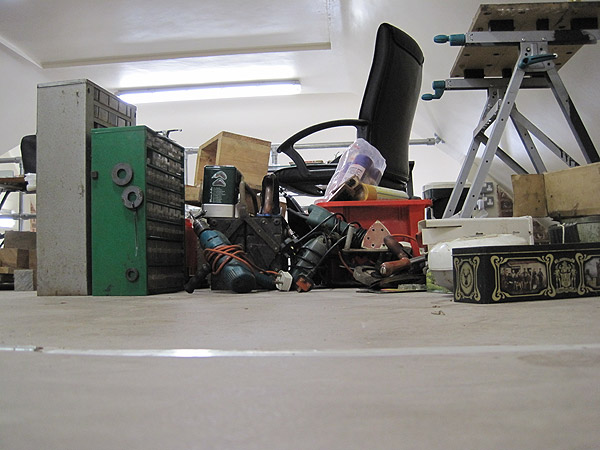 |
Several challenges here. The first problem is to remember where all of the bits and pieces were stored away before the old garage was demolished. Second is working out where to put it all. |
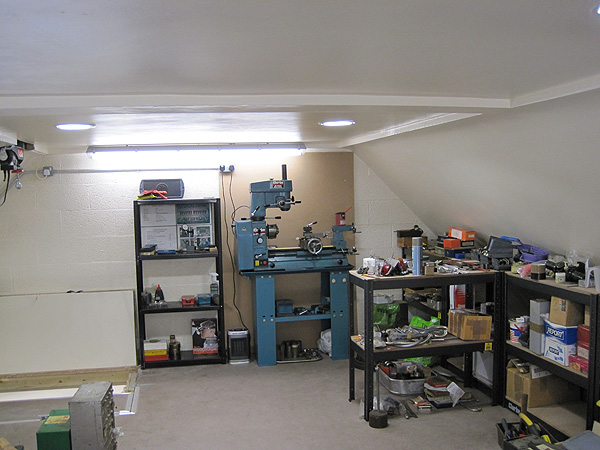 |
Thank goodness I fitted the electric winch! Lathe installed with splash board to aid cleaning up. The racking on the right has yet to be organised but does keep some of the mess off the floor. There must be at least a week's fun sorting out what is where and where it is going to fit. |
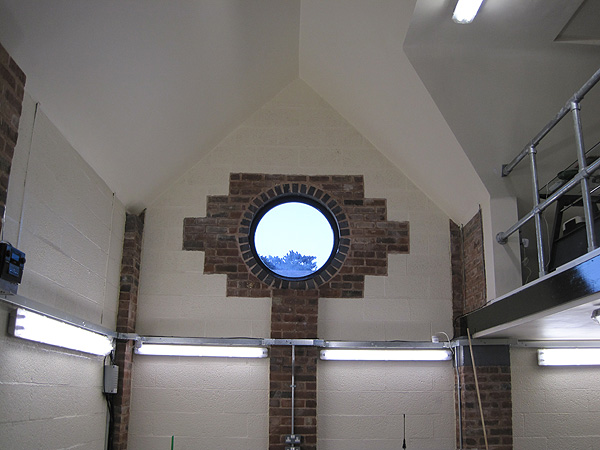 |
...and through the round window...
|
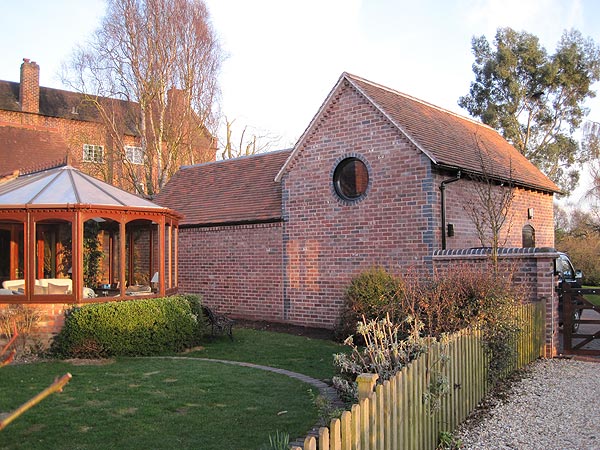 |
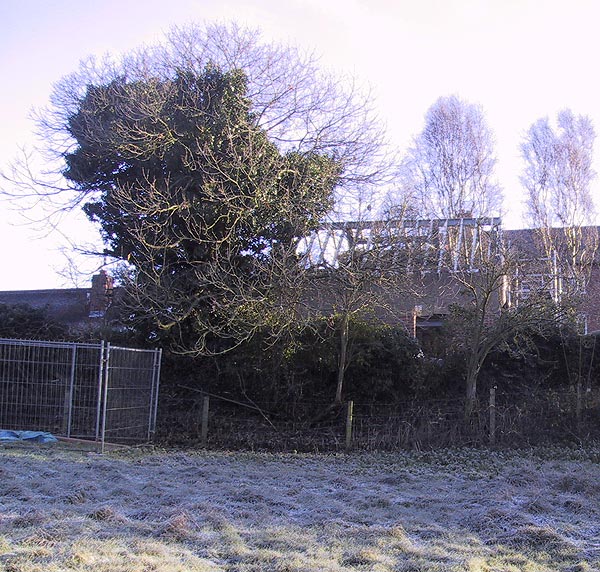
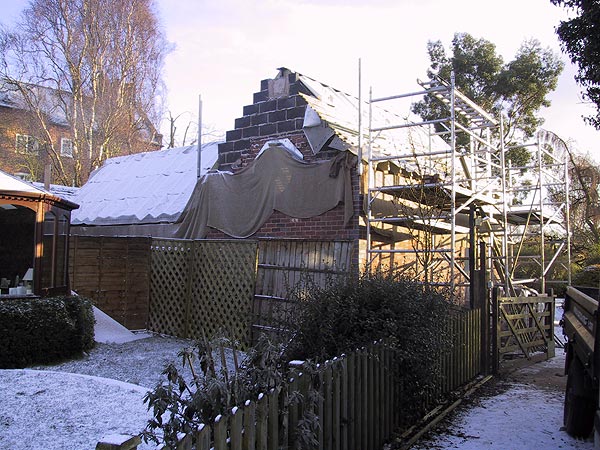
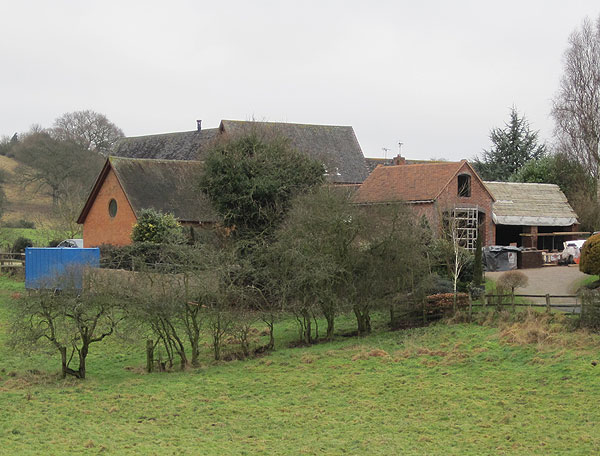
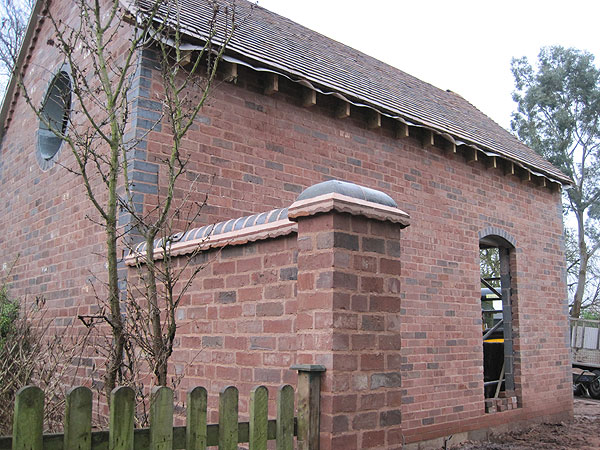
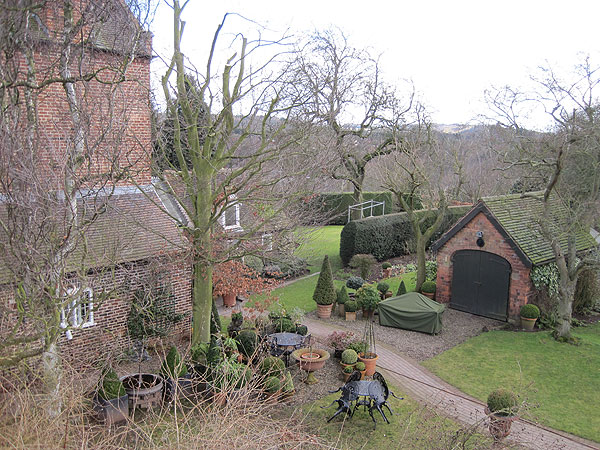
The back of the garage as viewed by our long-suffering neighbours. |
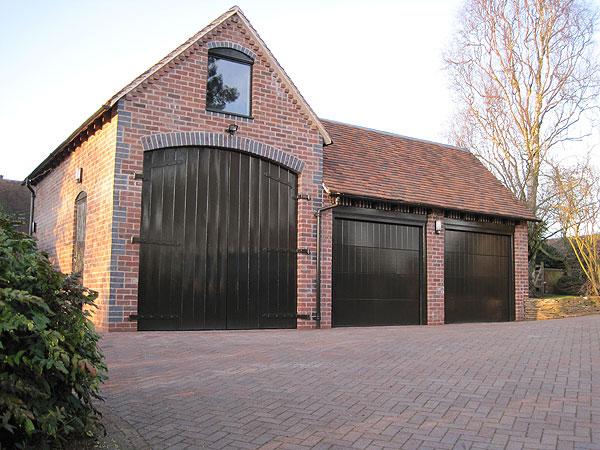 |
Windows installed and painted. Wednesday, 17th March - the building is signed off by the architects and Building Inspectors. How much snagging was needed to finish the building? NONE! I can only congratulate Paul Bate Construction Ltd for superb workmanship, dedication even when the thermometer was reading -12ºC and never a cross word from either side. |
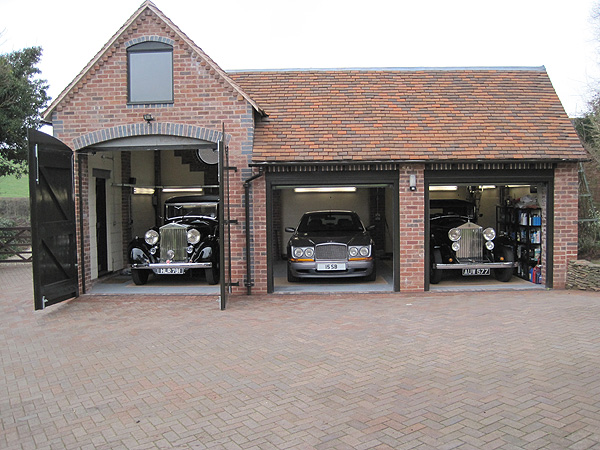 |
Celebration time. The old bangers redeemed from storage on Tuesday, 23rd March. After priming the oil pressure systems on both cars they started on the first press of the starter despite 6 months of idleness. If only I had made the garage bigger... Anyway, the hydraulic lift is scheduled for delivery on Wednesday, 31st March, which will be most exciting if it turns up, if it fits and if it works. More pictures next week. |
 |
|
 |
|
 |
|
 |
|