 |
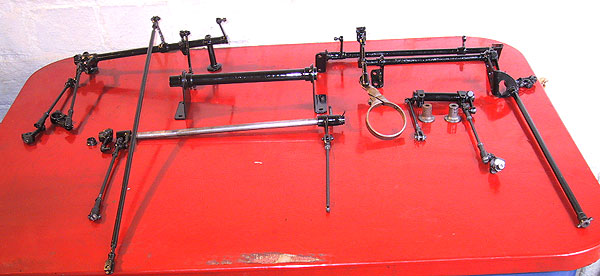
An engine's worth of control rods. These operate, variously, the tick-over speed, carburetor mixture and advance/retard of both the distributor and magneto. |
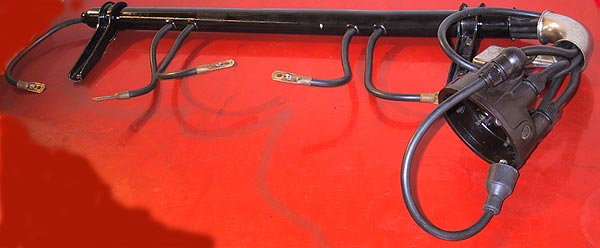 |
HT leads refitted into the repainted carrier tube. Care should always be taken to avoid loosing the carbon brush from the centre of the distributor cap. |
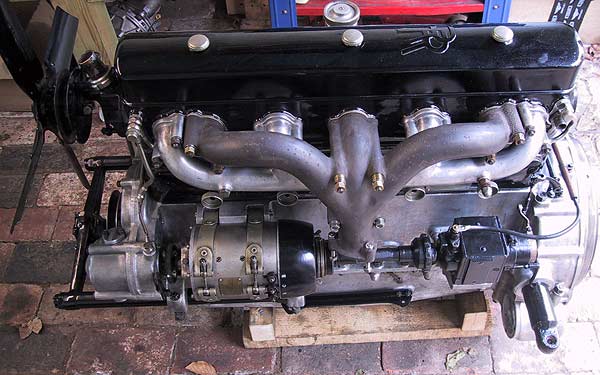 |
The magneto bolted back onto its plinth. The timing gears had been re-assembled with a different mesh; consequently, the magneto timing was adrift. Resetting is simple - especially when the engine is out of the car. Turn the crankshaft, from the flywheel end, until number 1 cylinder is approaching its firing position and the flywheel marker is at MAI (Magneto Advance Ignition). Set control rods to magneto full retard, connect the magneto drive shaft to the rear of the dynamo (it can fit in only one position), disconnect the serrated nut at the front of the magneto (beware of the spring inside), unbolt the magneto and rotate the armature in its normal direction (anti-clockwise viewed from the back) until the points are just opening, re-engage the shaft, bolt down the magneto, re-attach the serrated nut, re-check the adjustment. |
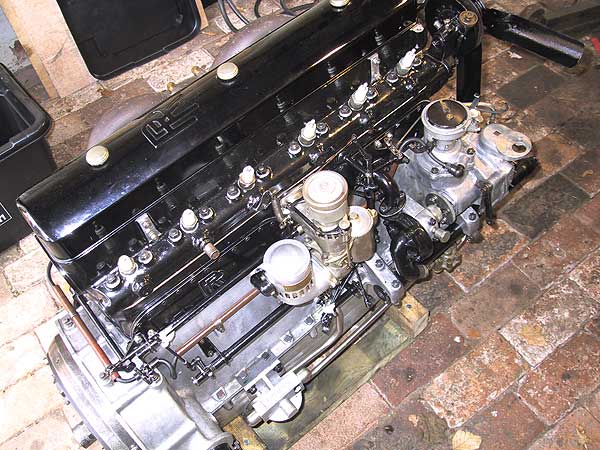 |
Carburetor attached to the engine: there is a paper gasket between it and the block. All control rods refitted. It is important to check that there is free and full range of movement of the rods and pivots. This was a newly cast block and, despite amazingly accurate manufacture, the rod support pedestals had to be shimmed by about 0.040" to get the correct alignment and full movement of the mechanism. The coil ignition timing was set in the usual fashion. Flywheel to BAI (Battery Advance Ignition) on #1 firing stroke, distributor retarded, set points to 0.018", remove the points cam, adjust cam so that the points are just opening, screw down cam. |
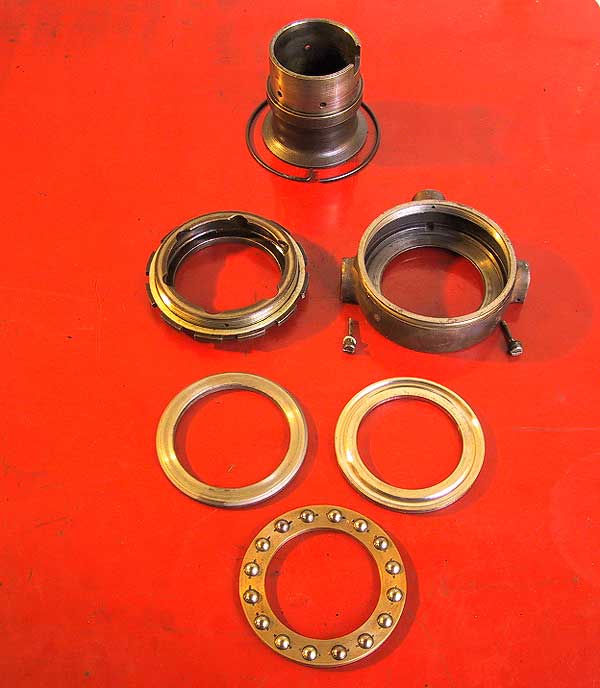 |
A final check before attaching the gearbox should always be the inspection of the clutch release bearing. Despite silent operation this bearing was completely worn out. The inner track (left) was completely galled and the ring holding the balls was so worn that only two of the balls were still held by the stampings. Needless to say, this bearing will be replaced. The collar, at the top of the picture, was a good fit inside the bearing and its wear face was smooth an flat. |